The K.O.M.R. was formed as a Territorial Infantry Regiment in 1932, the latest in a series of locally raised militia units and regiments dating back to the 1800s.
Its immediate predecessor was the Royal Malta Regiment of Militia, established in 1889. The opportunity to have the name changed to a more prestigious ‘King’s Own’ presented itself and was eagerly snapped up in 1903, when during a Royal Visit, King Edward VII referred to the RMRM as “My Regiment”.
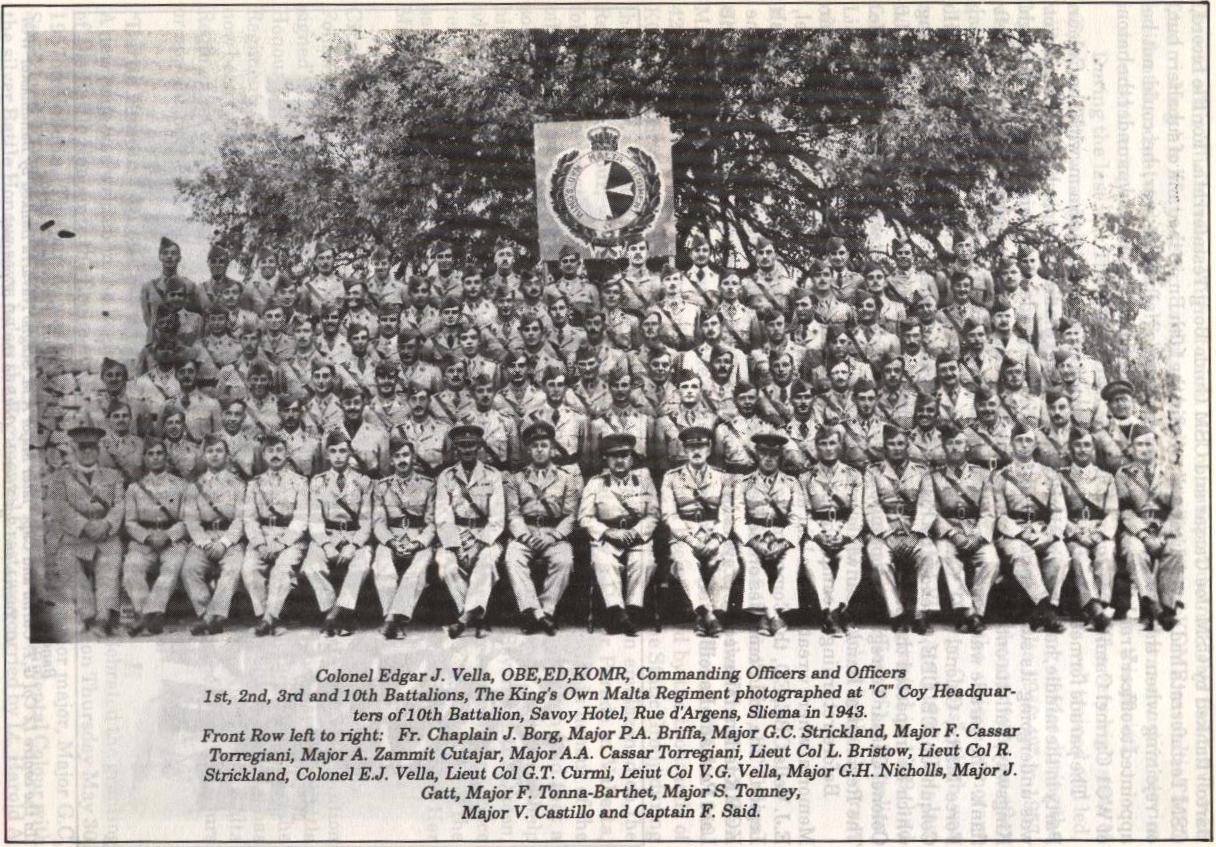
During the Second World War the Regiment was expanded to four battalions, 1st, 2nd, 3rd, and 10th, and all rendered sterling service. The infantrymen were constantly trained in fighting tactics, weapon training and anti-invasion drills, to prepare against the largest threat to Malta, Operation Herkules, the planned German-Italian invasion.
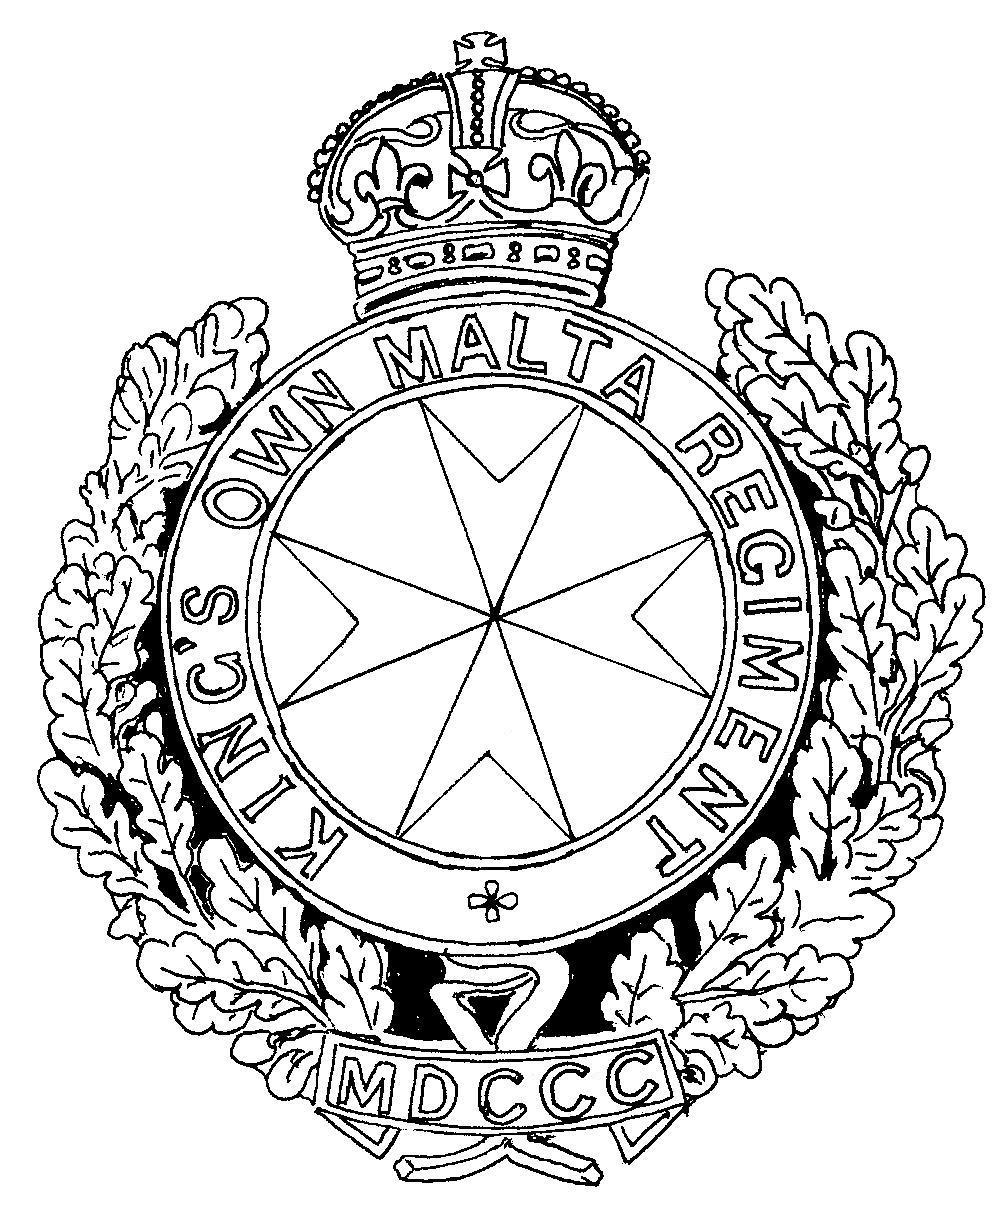
Click on the badge sketch below to find out more about the history of the regimental badge
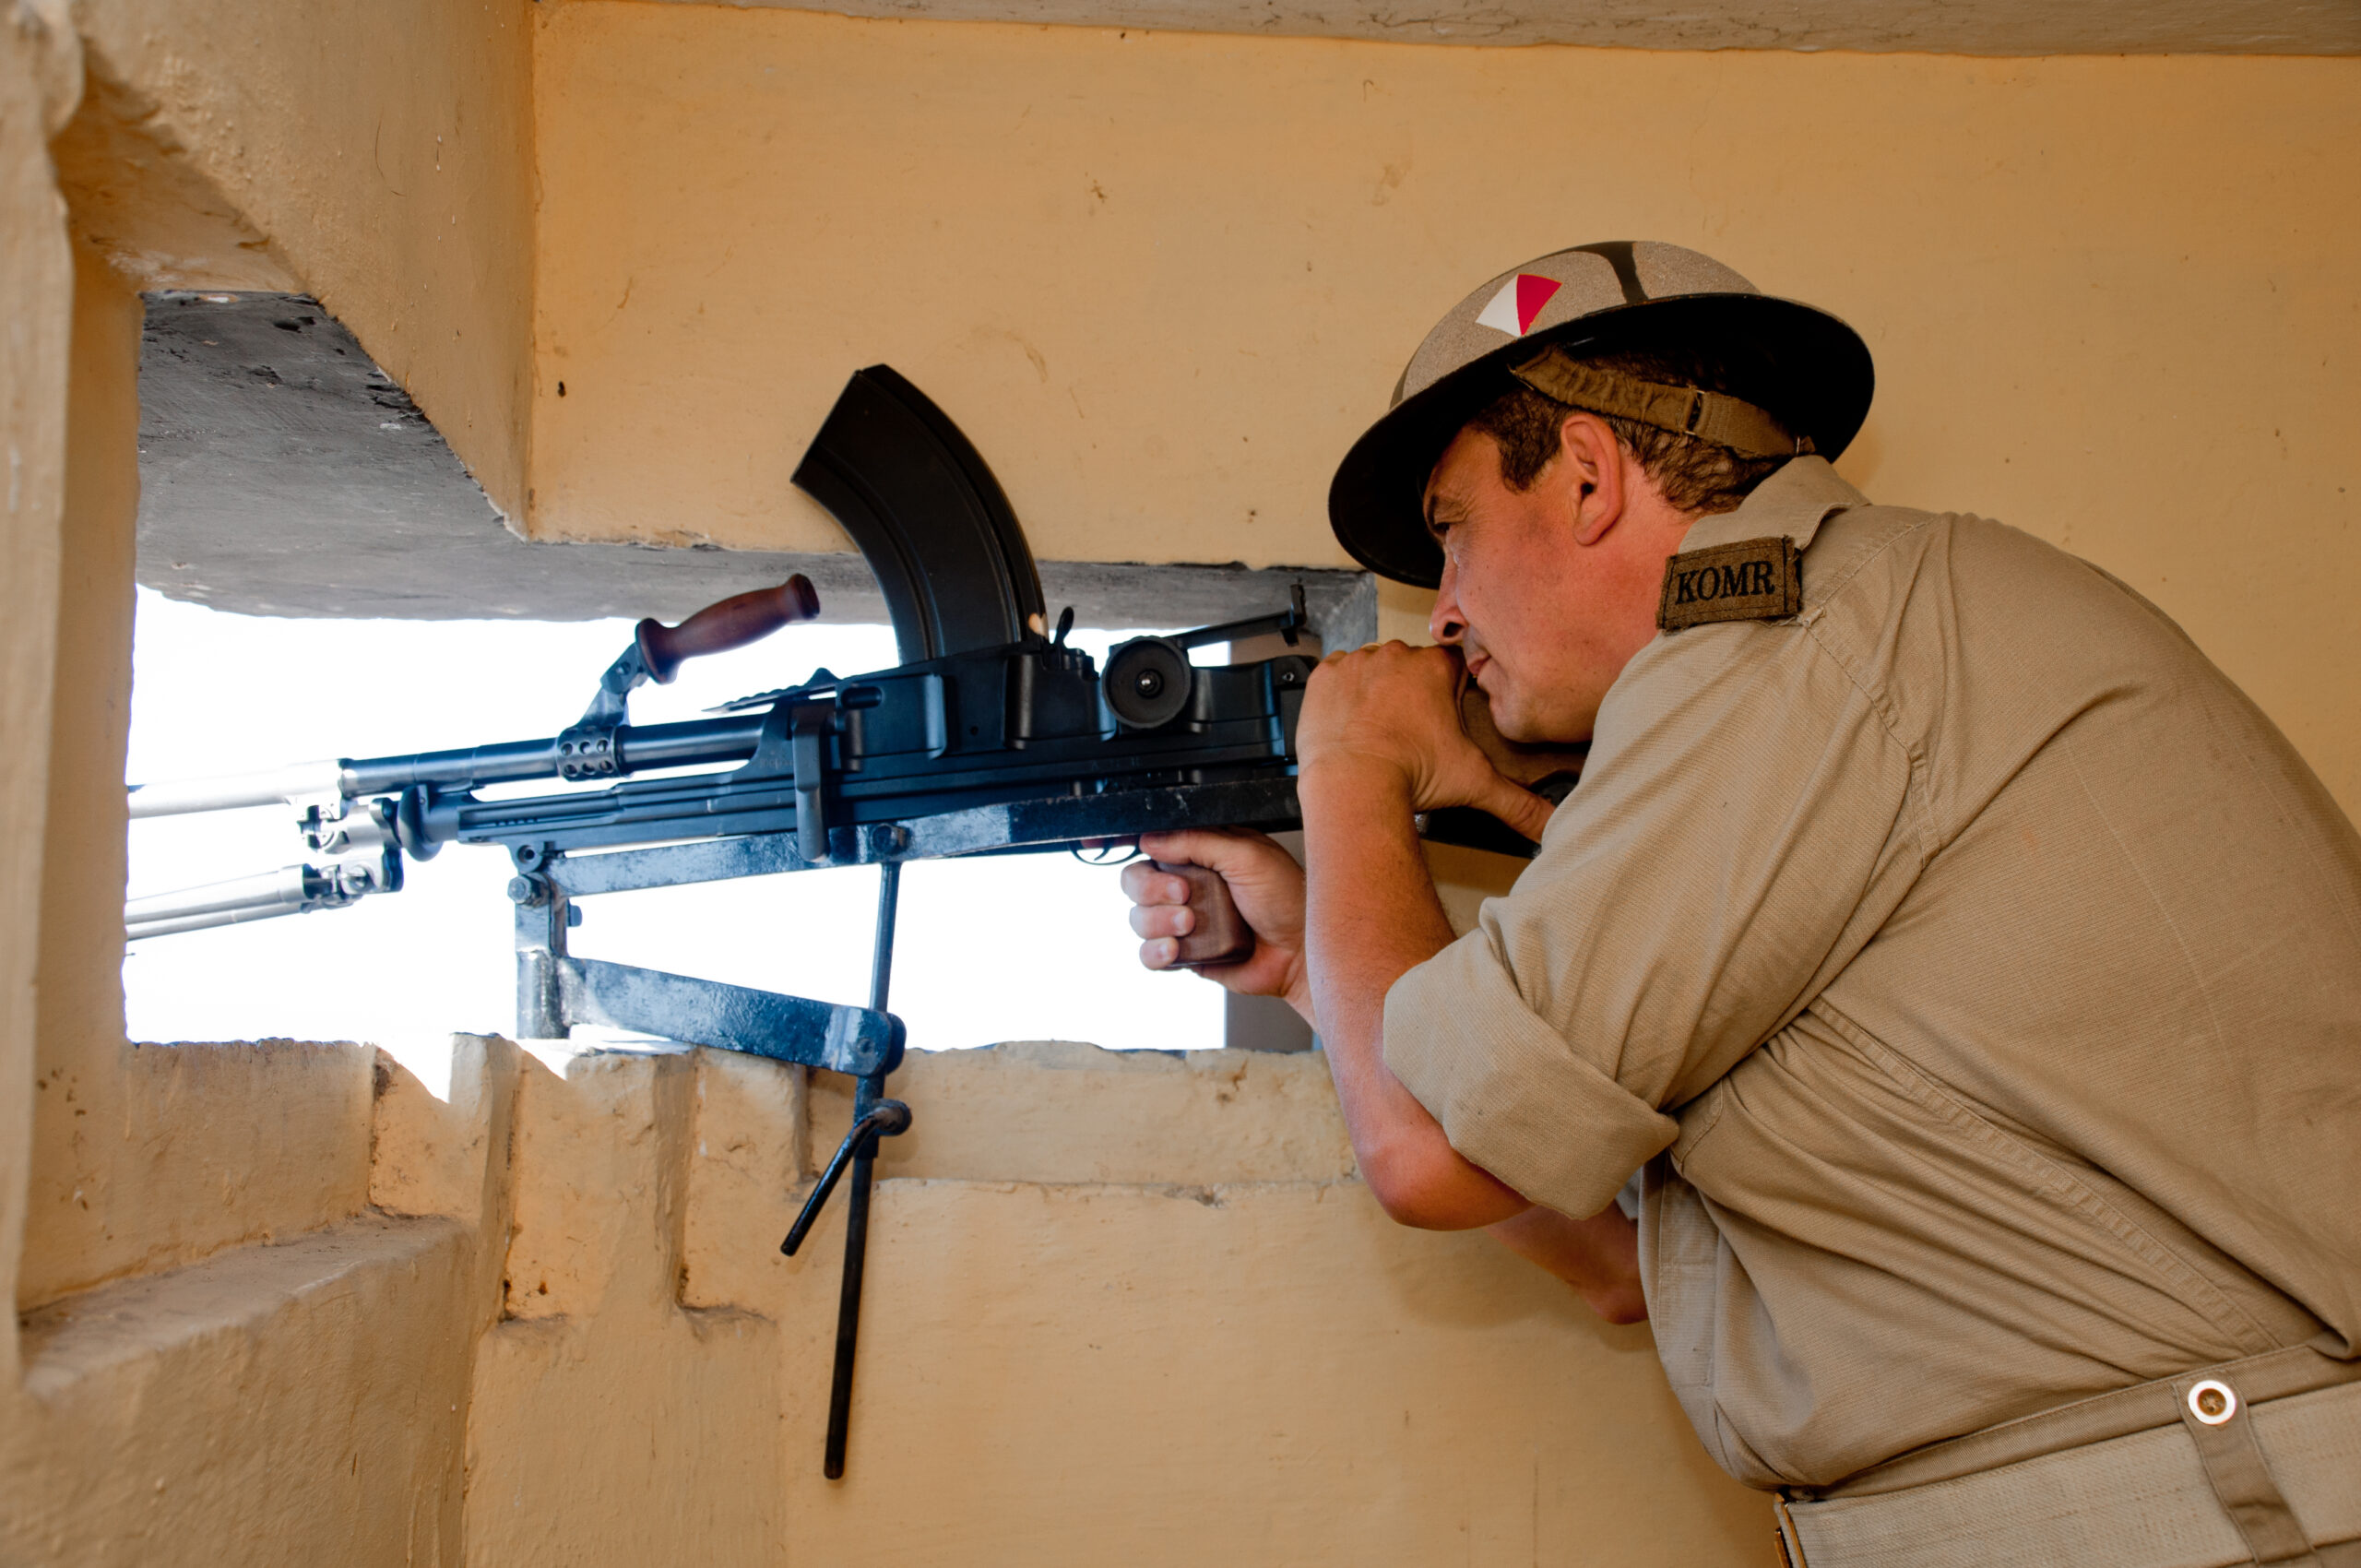
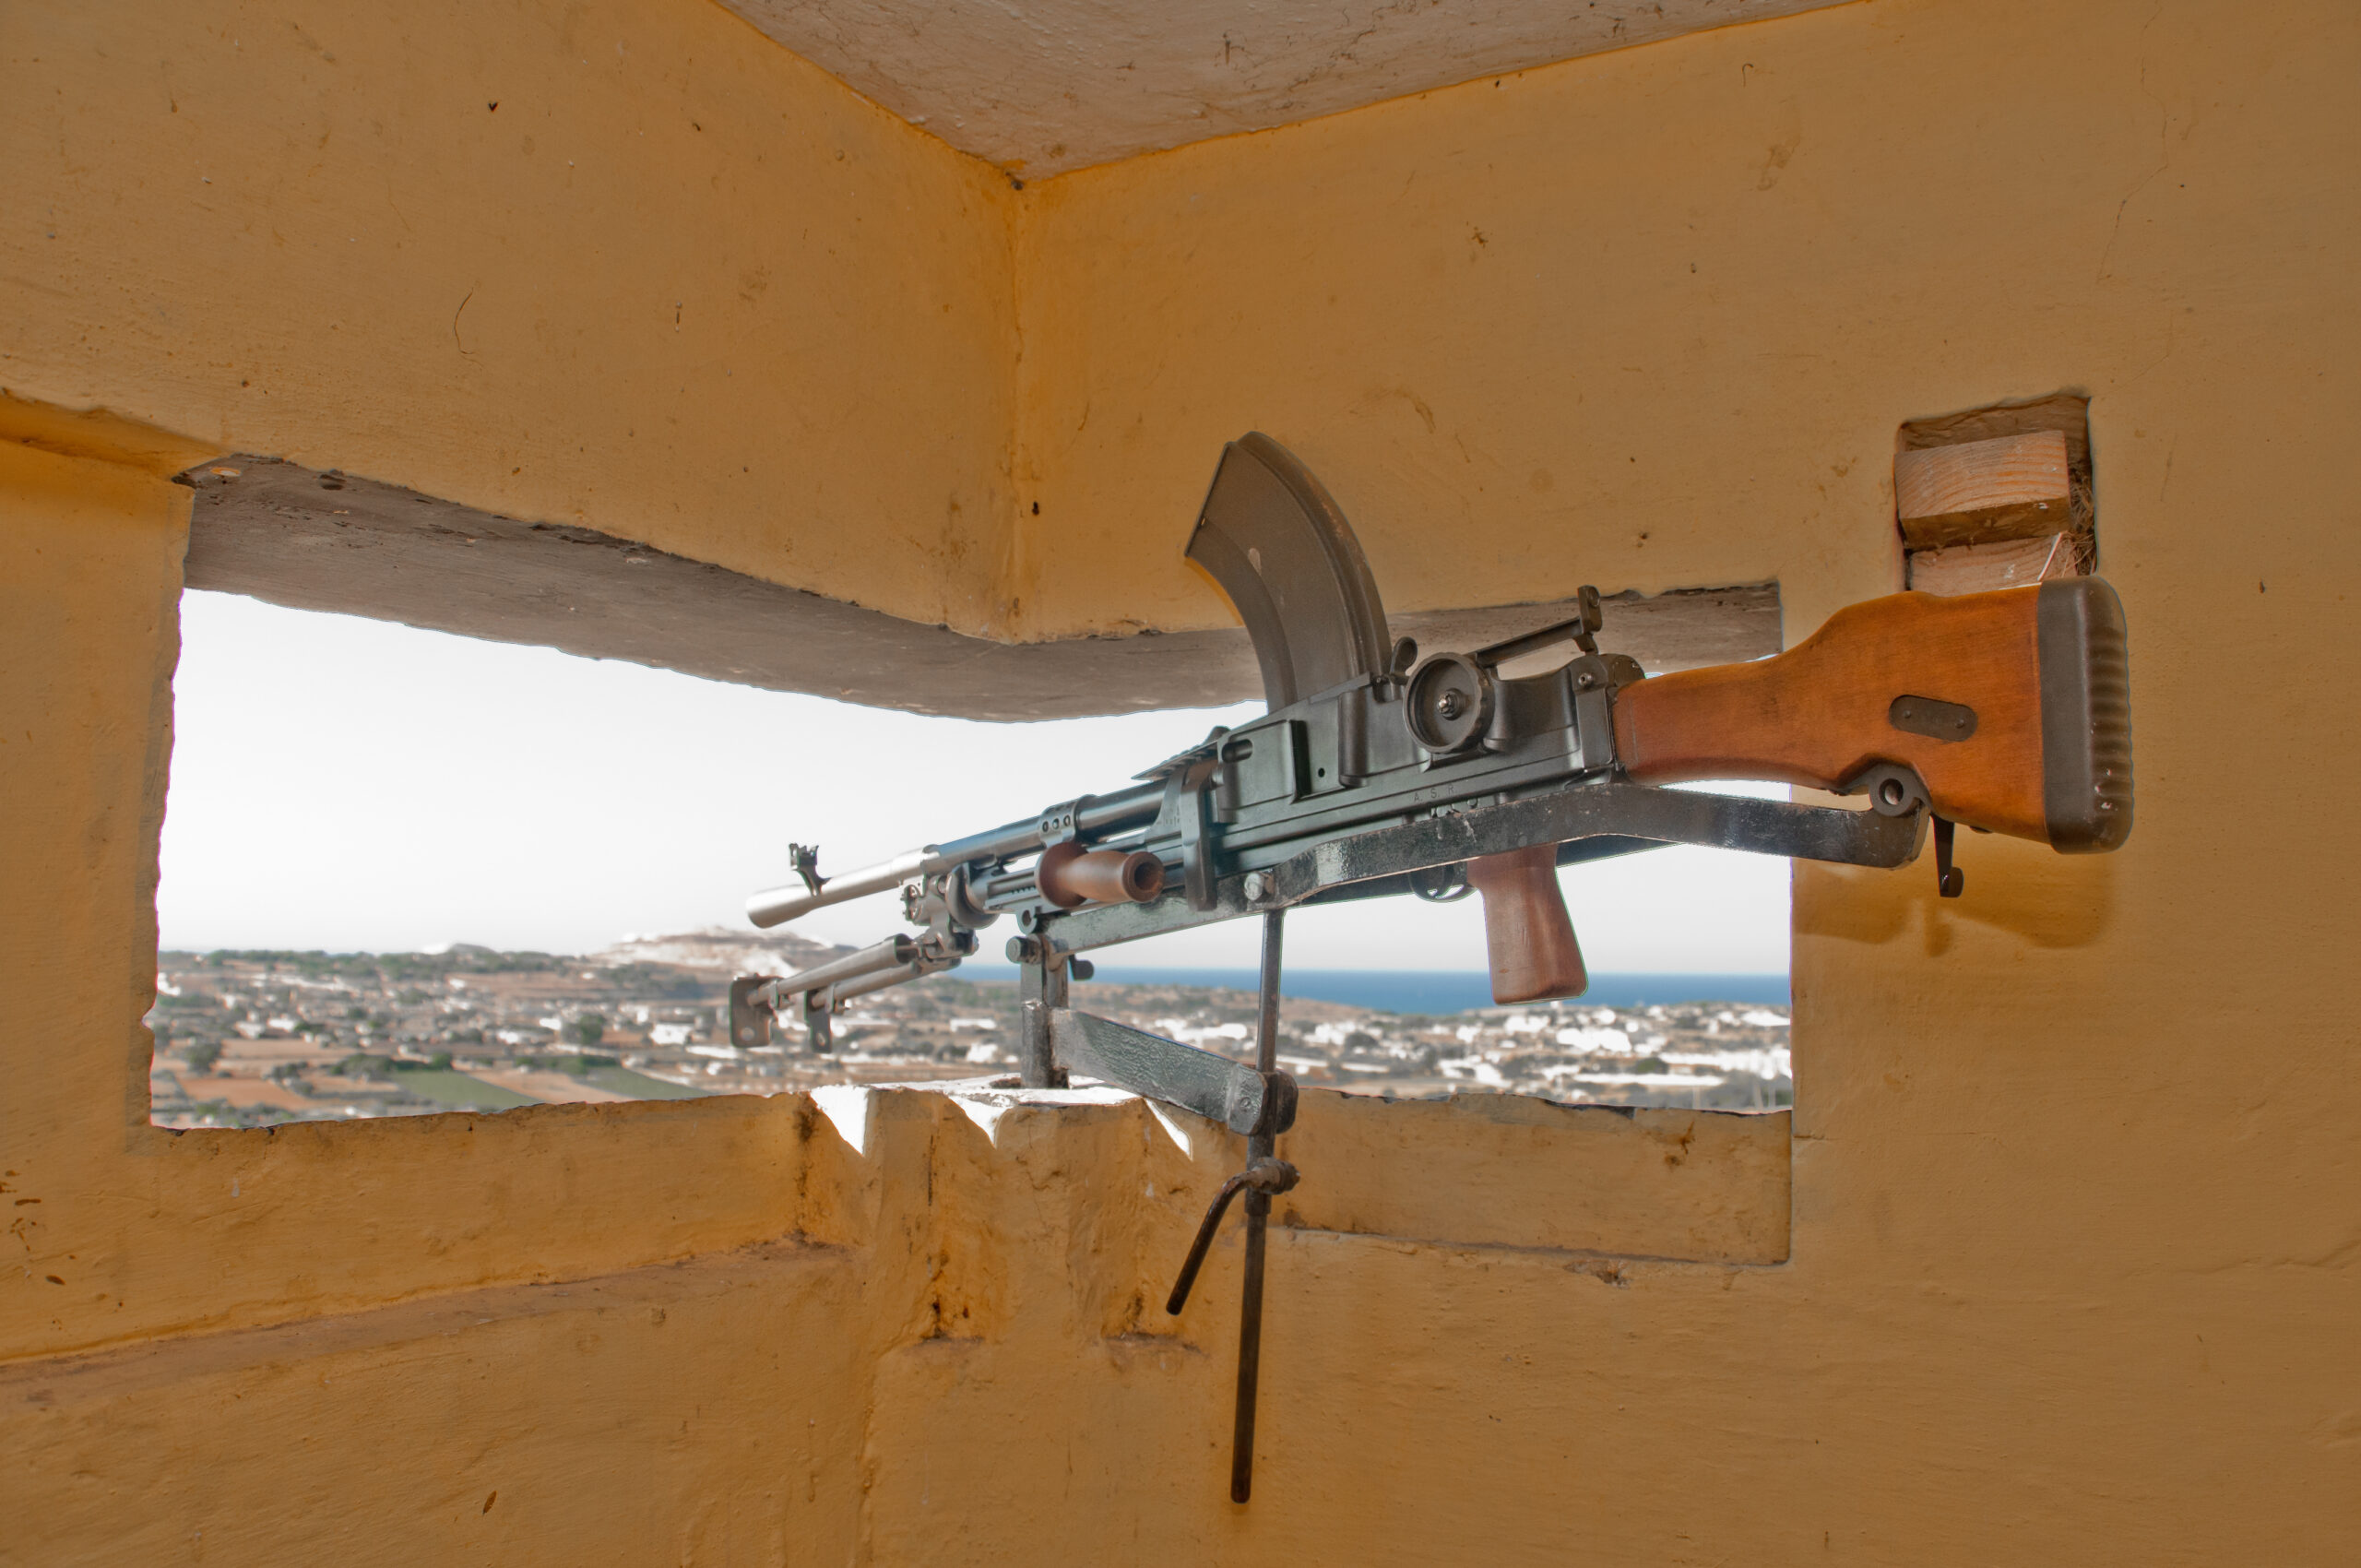
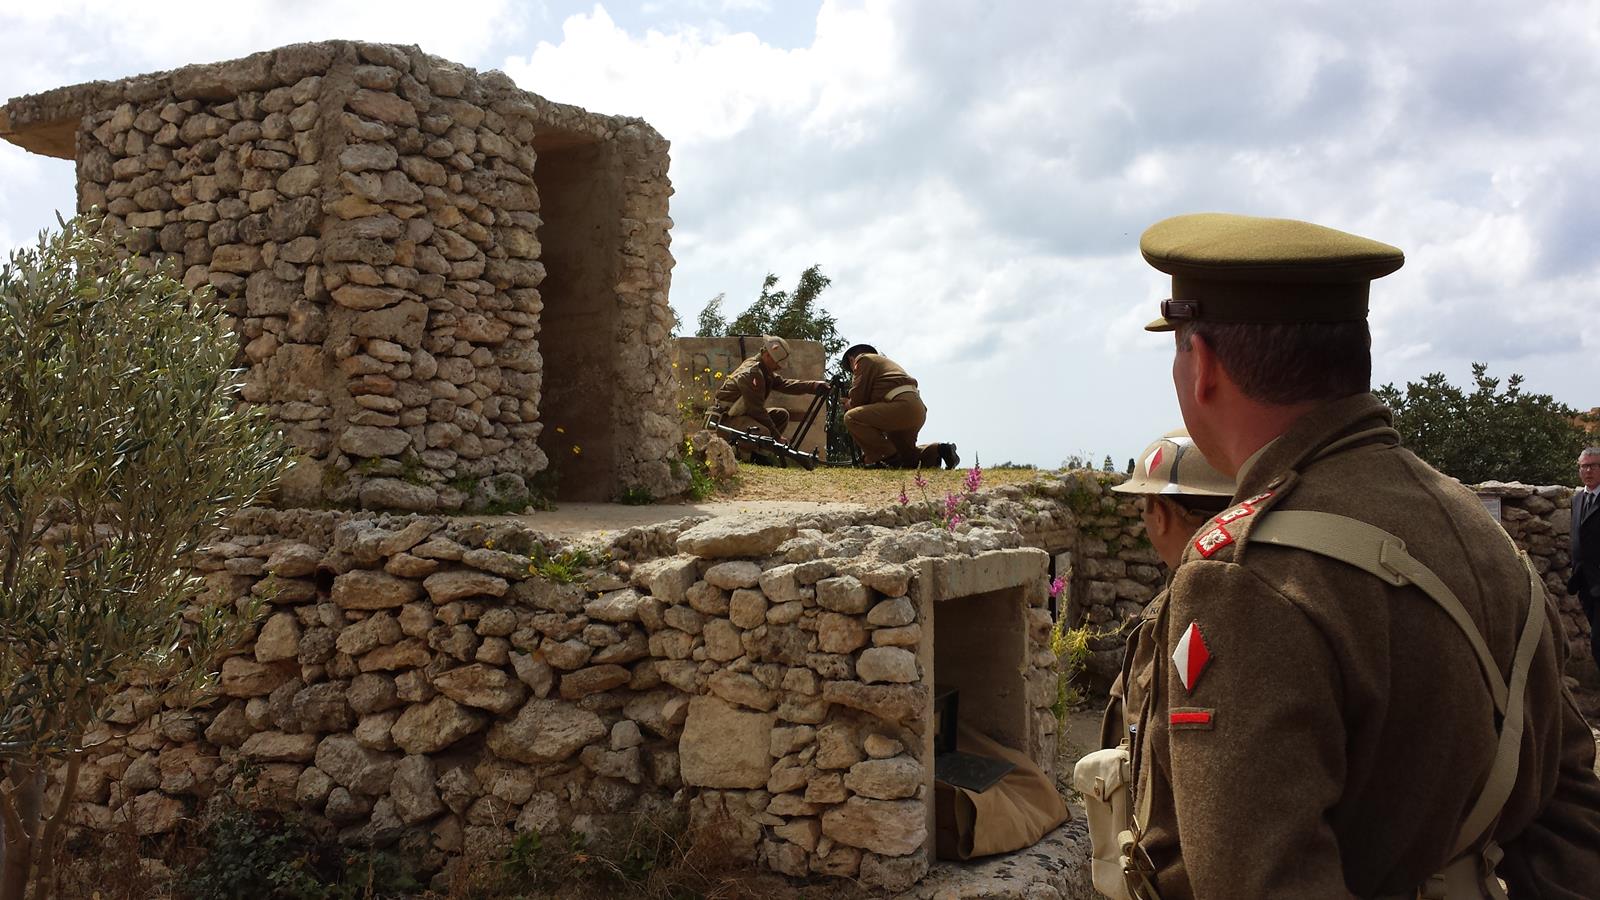
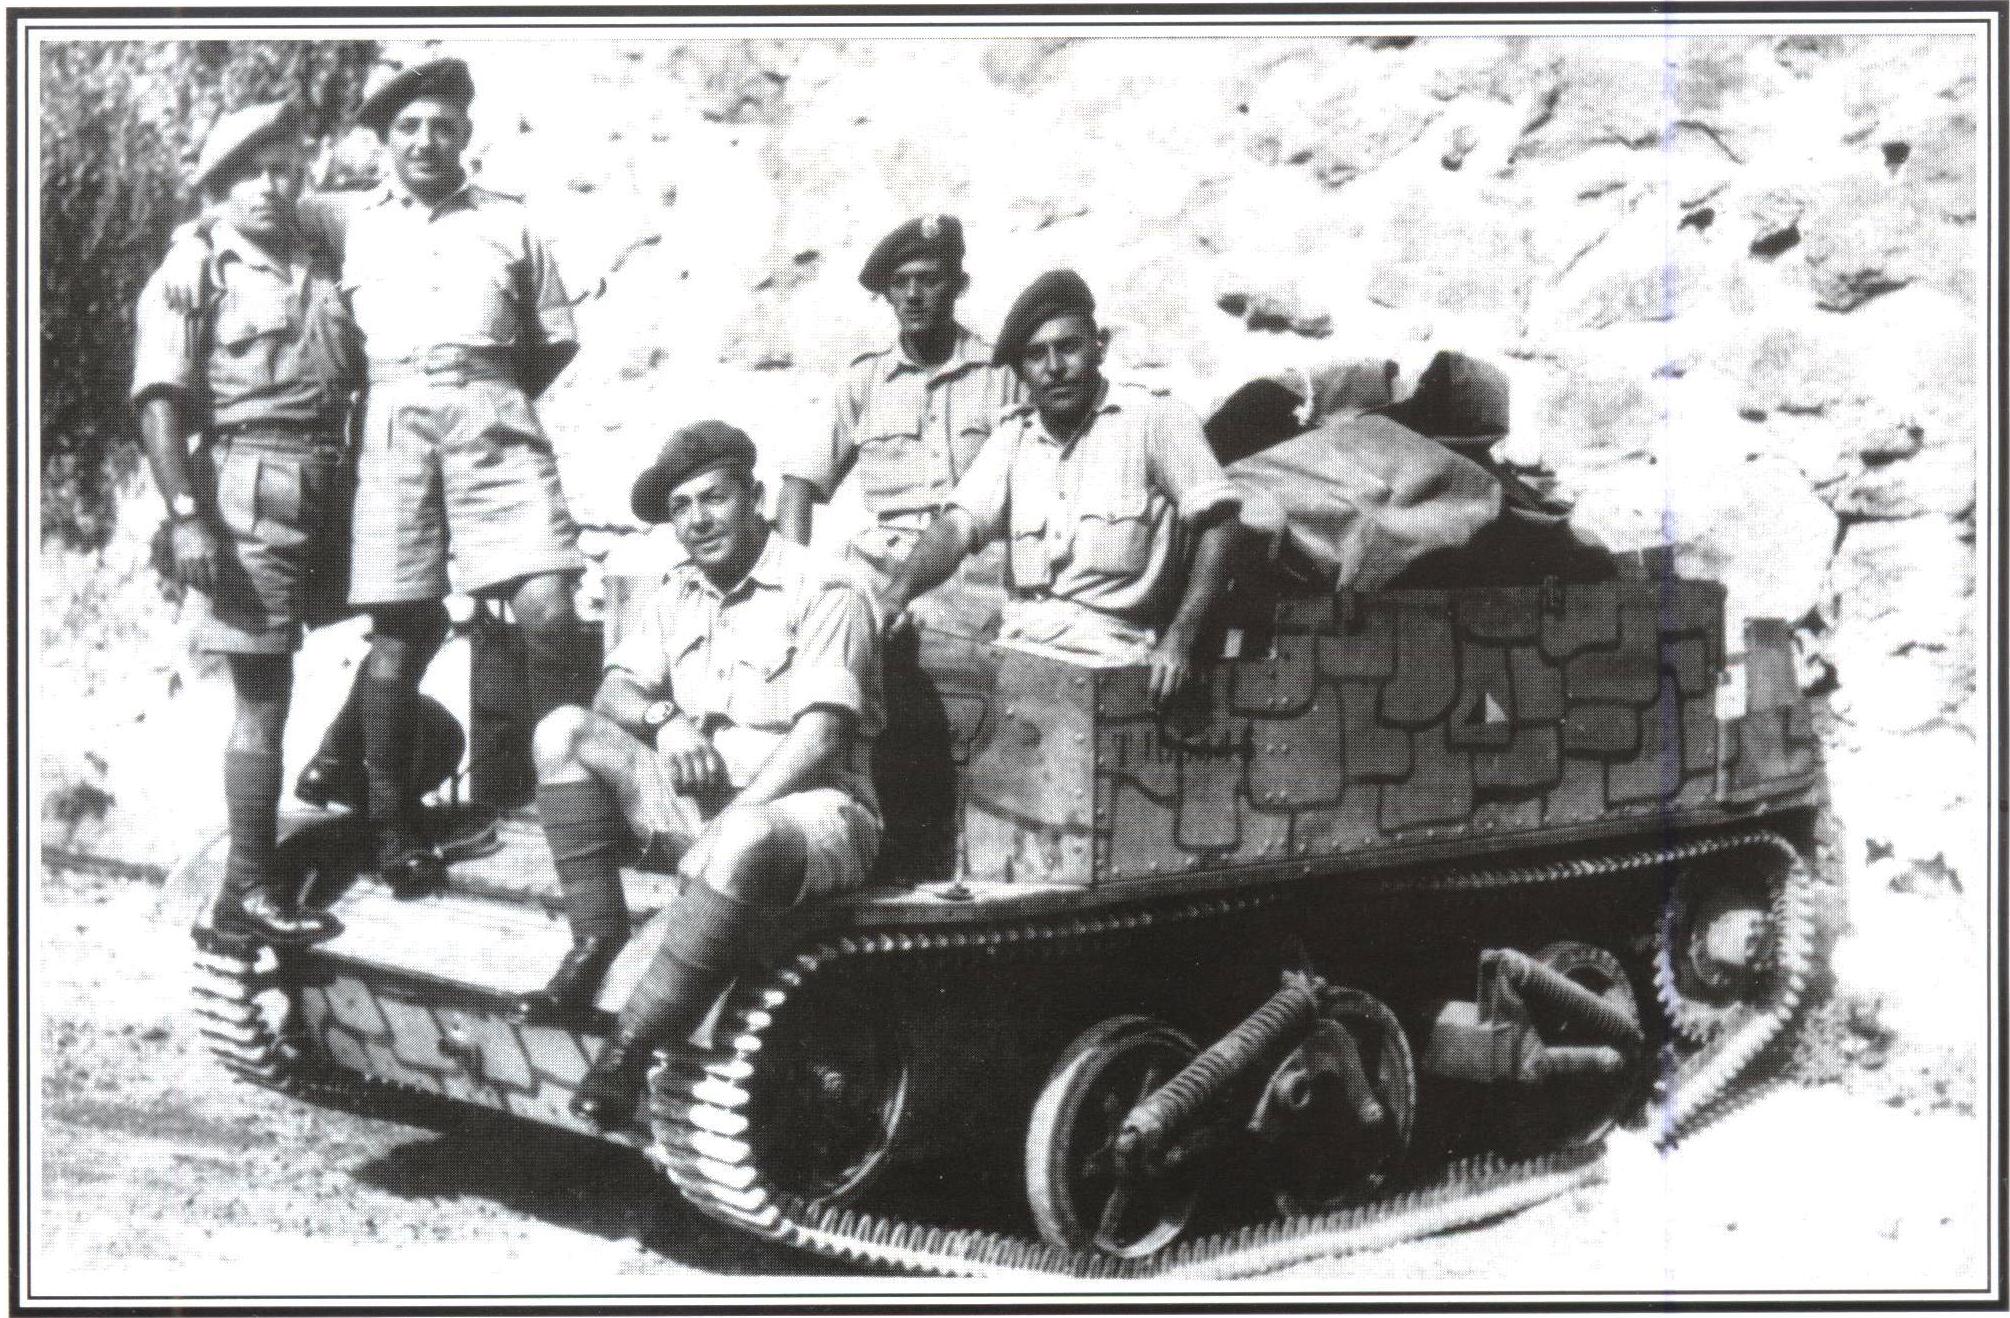
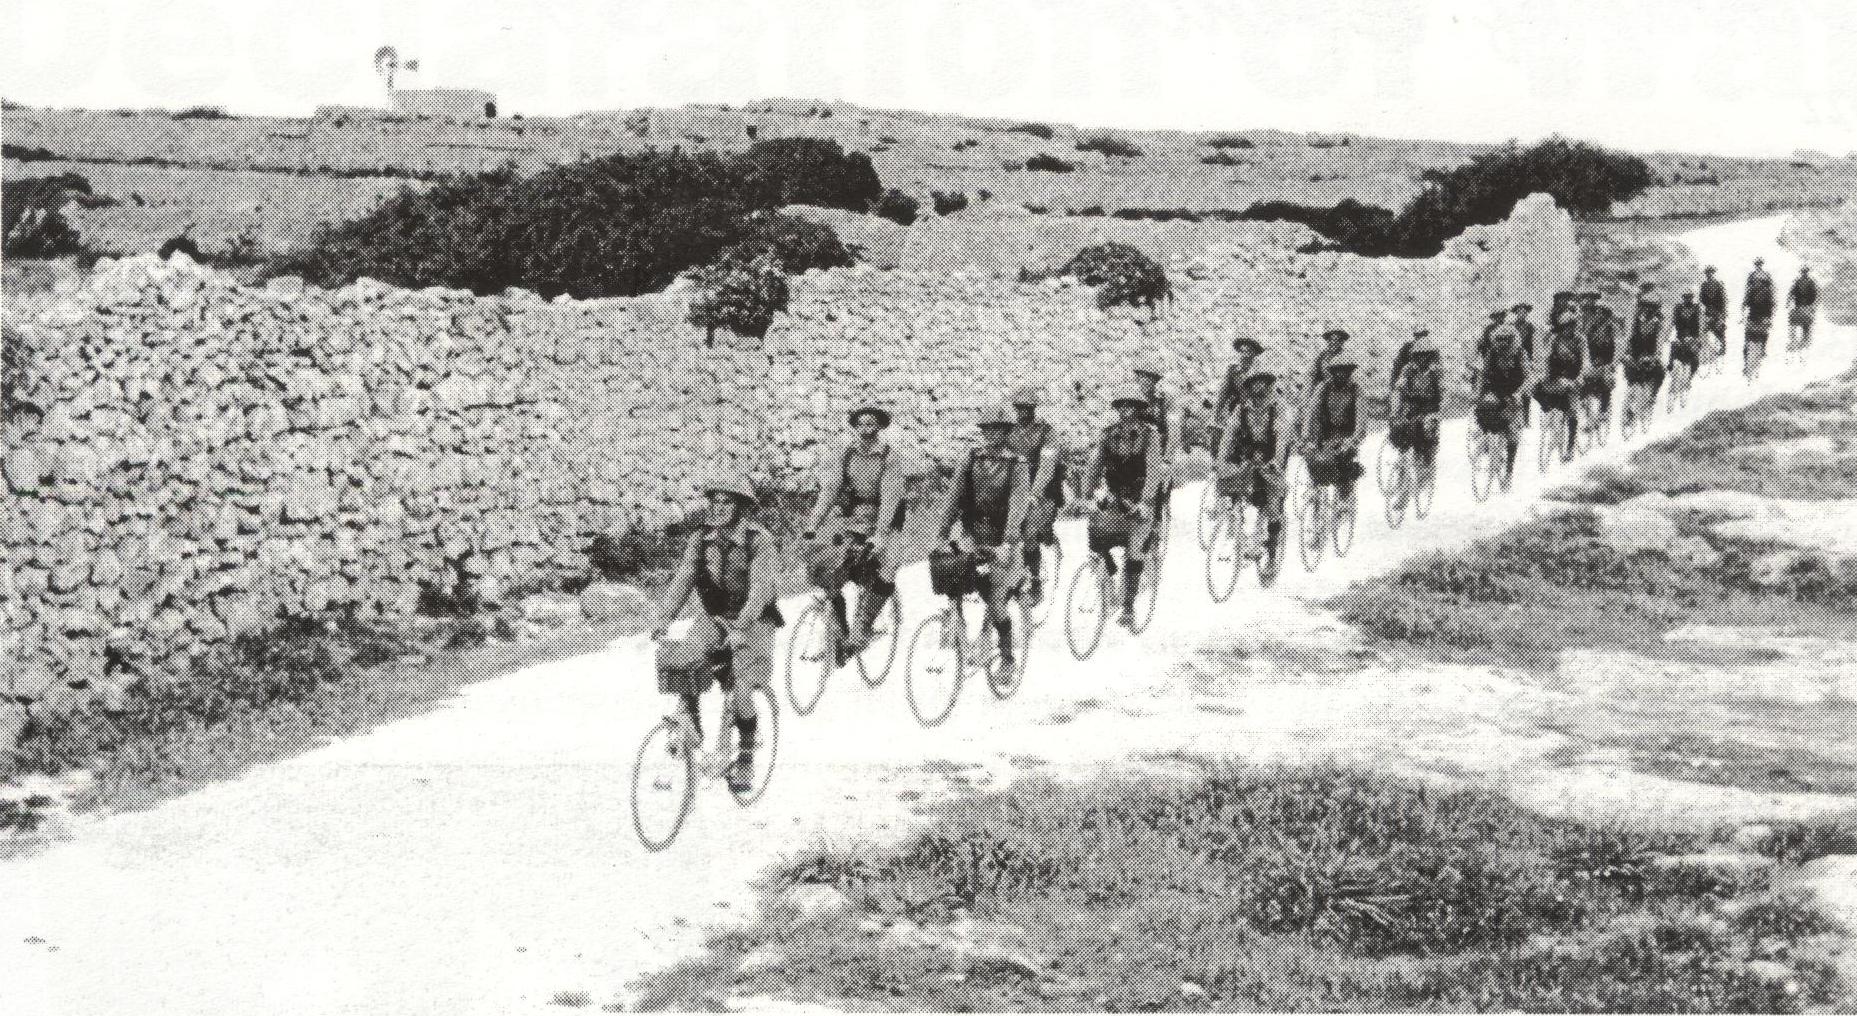
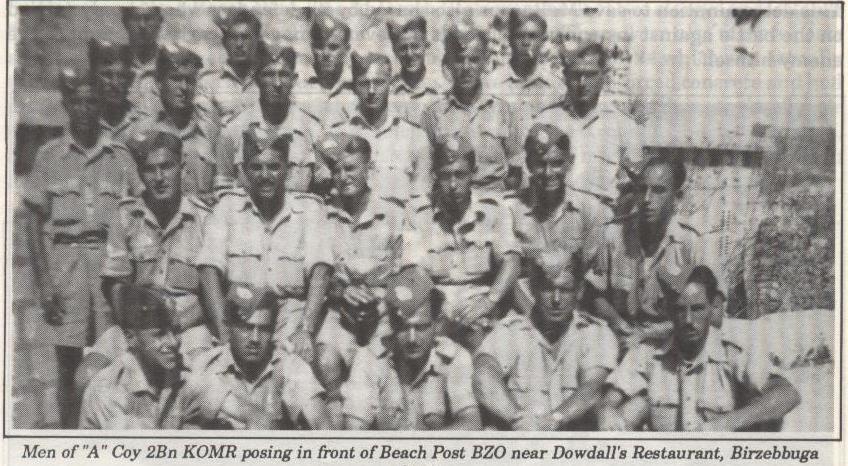
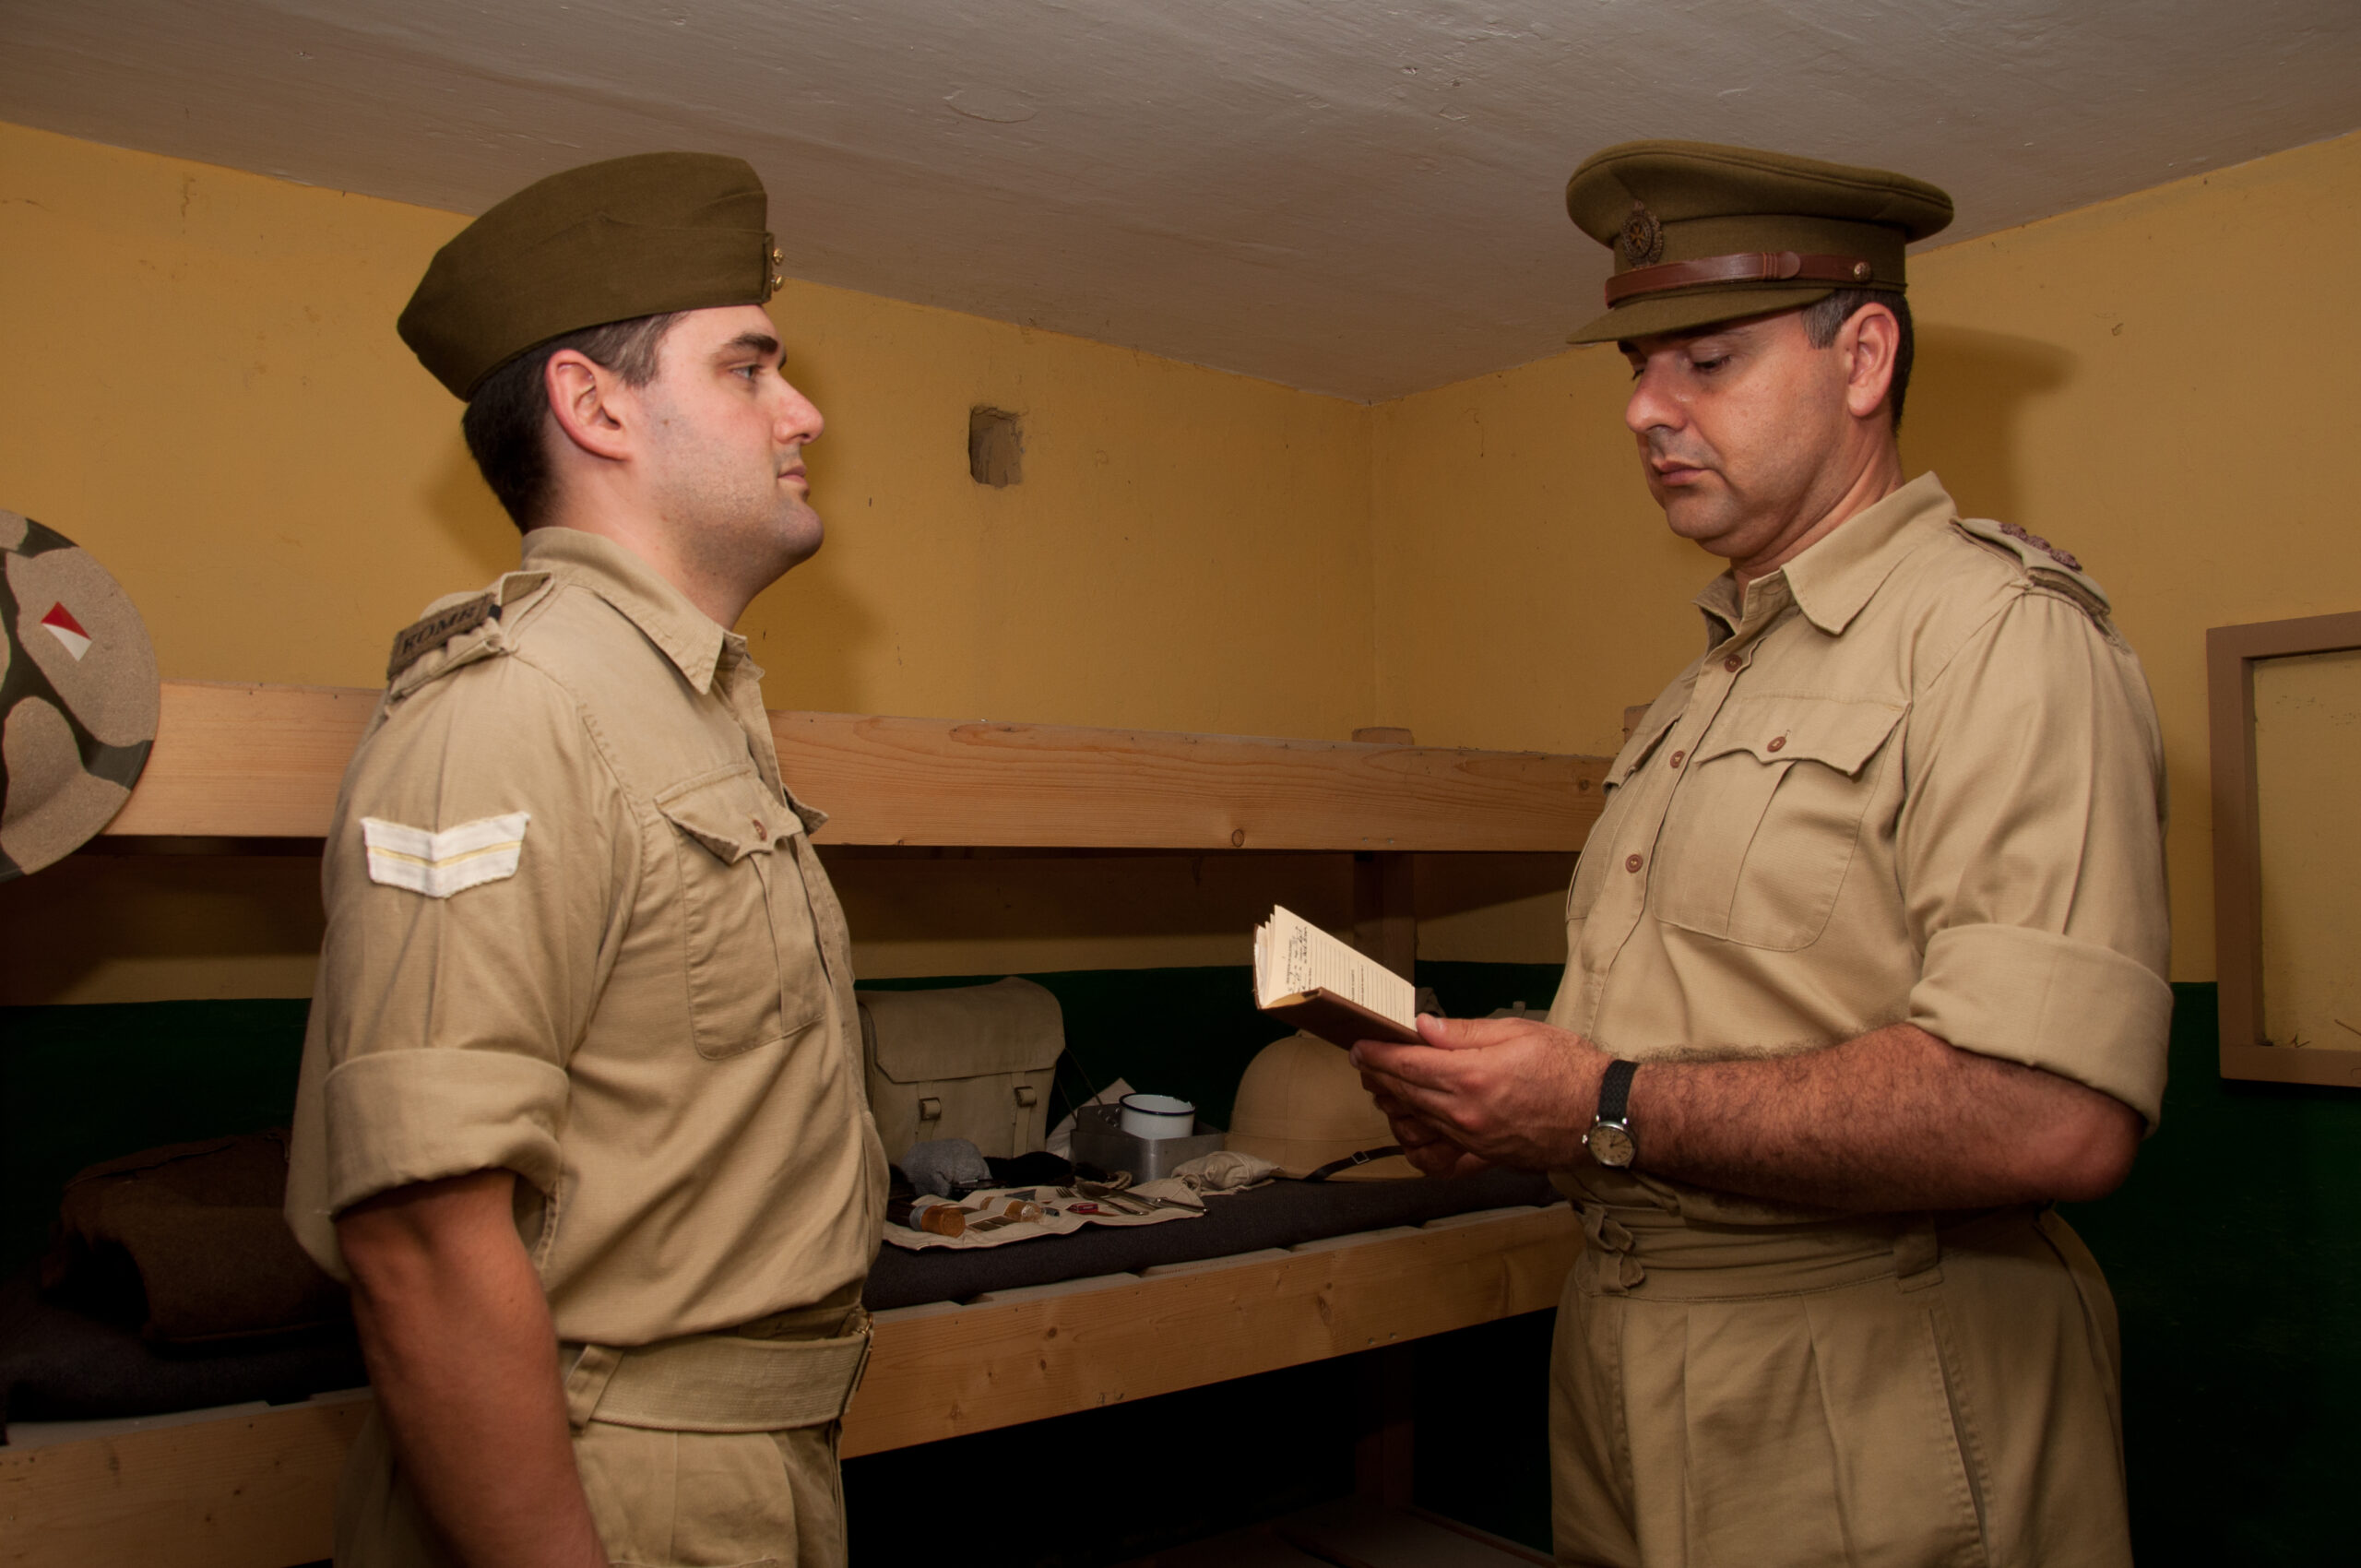
The main task of the 2nd Battalion, the unit represented by the ‘Malta Command L.H.G’, was the defence of the shores of Malta. This was carried out mainly by the manning of pill boxes, and generally one depth post and two beach posts were allocated to a platoon of 30 men. Constant patrols along the shoreline were carried out to foil any Commando-style operation the enemy might try to carry out.
The infantrymen were often called upon to speed up the unloading of vital cargoes from convoy ships, before the ships were bombed and sunk in port. So essential were the supplies that unloading would not stop, not even during air raids! Afterwards the supply dumps, where all these supplies were stored, sometimes in the open, would need guarding round the clock.
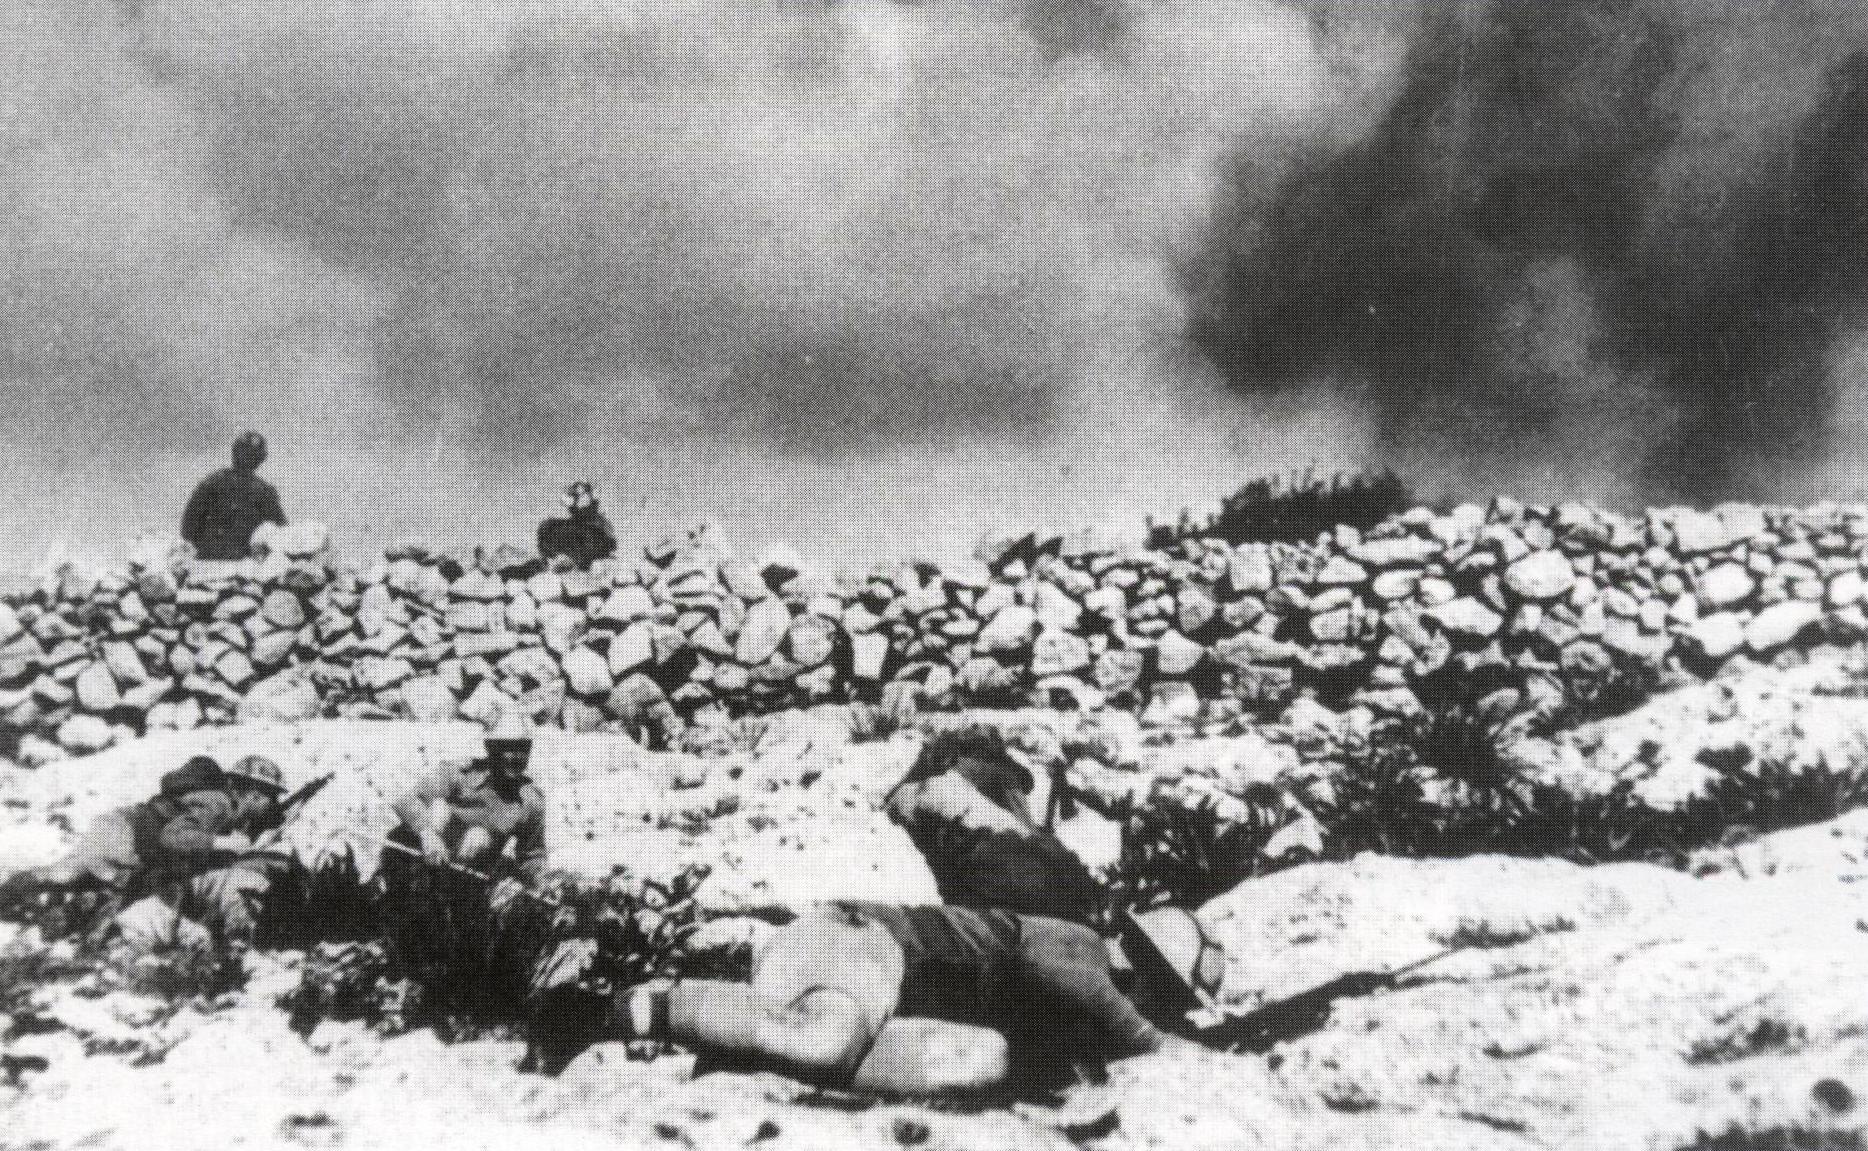
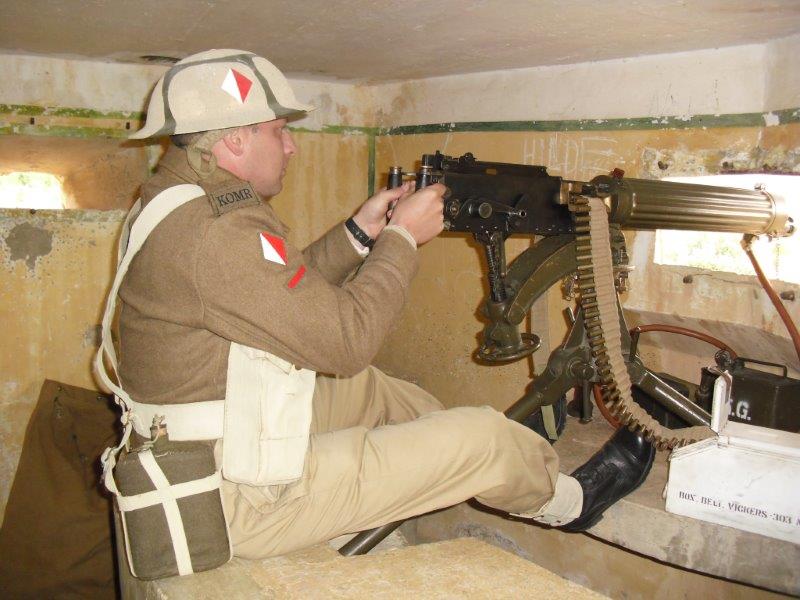
The Regiment also put to good use their Vickers, Lewis and Bren machine guns to provide defence against low flying aircraft, especially those strafing the airfields.
As the few RAF fighter planes available would be scrambled to engage the enemy bombers, and since the prime targets were the airfields, the bomb craters would have to be filled in and passed over with a roller to allow the defending fighters to land again before they ran out of fuel. So this work would sometimes have to be carried out during the actual raid, running for the slit trenches when bombs would be heard whistling down! Other jobs were the re-arming and refueling of planes, as well as the building of protective pens for the aircraft to minimize bomb shrapnel damage as much as possible.
The KOMR was frequently called upon to perform unenviable tasks such as when in January 1941, after the Germans tried to sink the ‘Illustrious’ in port with determined and ferocious bombing, they were sent to rescue the living and remove the dead from the devastated Cottonera area of the Grand Harbour.
As tribute to the hardships endured during the war, the KOMR contingent for the London Victory Parade was the only regiment permitted to carry its Regimental Colours. The Colours of all the other regiments were carried massed together. The Regiment was given the battle honour “Malta 1940 – 1942” and Her Majesty Queen Elizabeth II also granted the regiment the unique privilege of carrying the George Cross on the Regimental Colours. The Regiment was disbanded in 1972.
Regiment formation signs
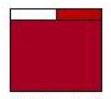
During the war, each KOMR Battalion was assigned a different formation sign. These were of a woven pattern and worn by all ranks. These cloth flashes were made in the Maltese national colours – red and white – with the exception of 3rd Battalion‘s which for a period following its formation was issued with a maroon coloured square topped by a narrow white and red strip.
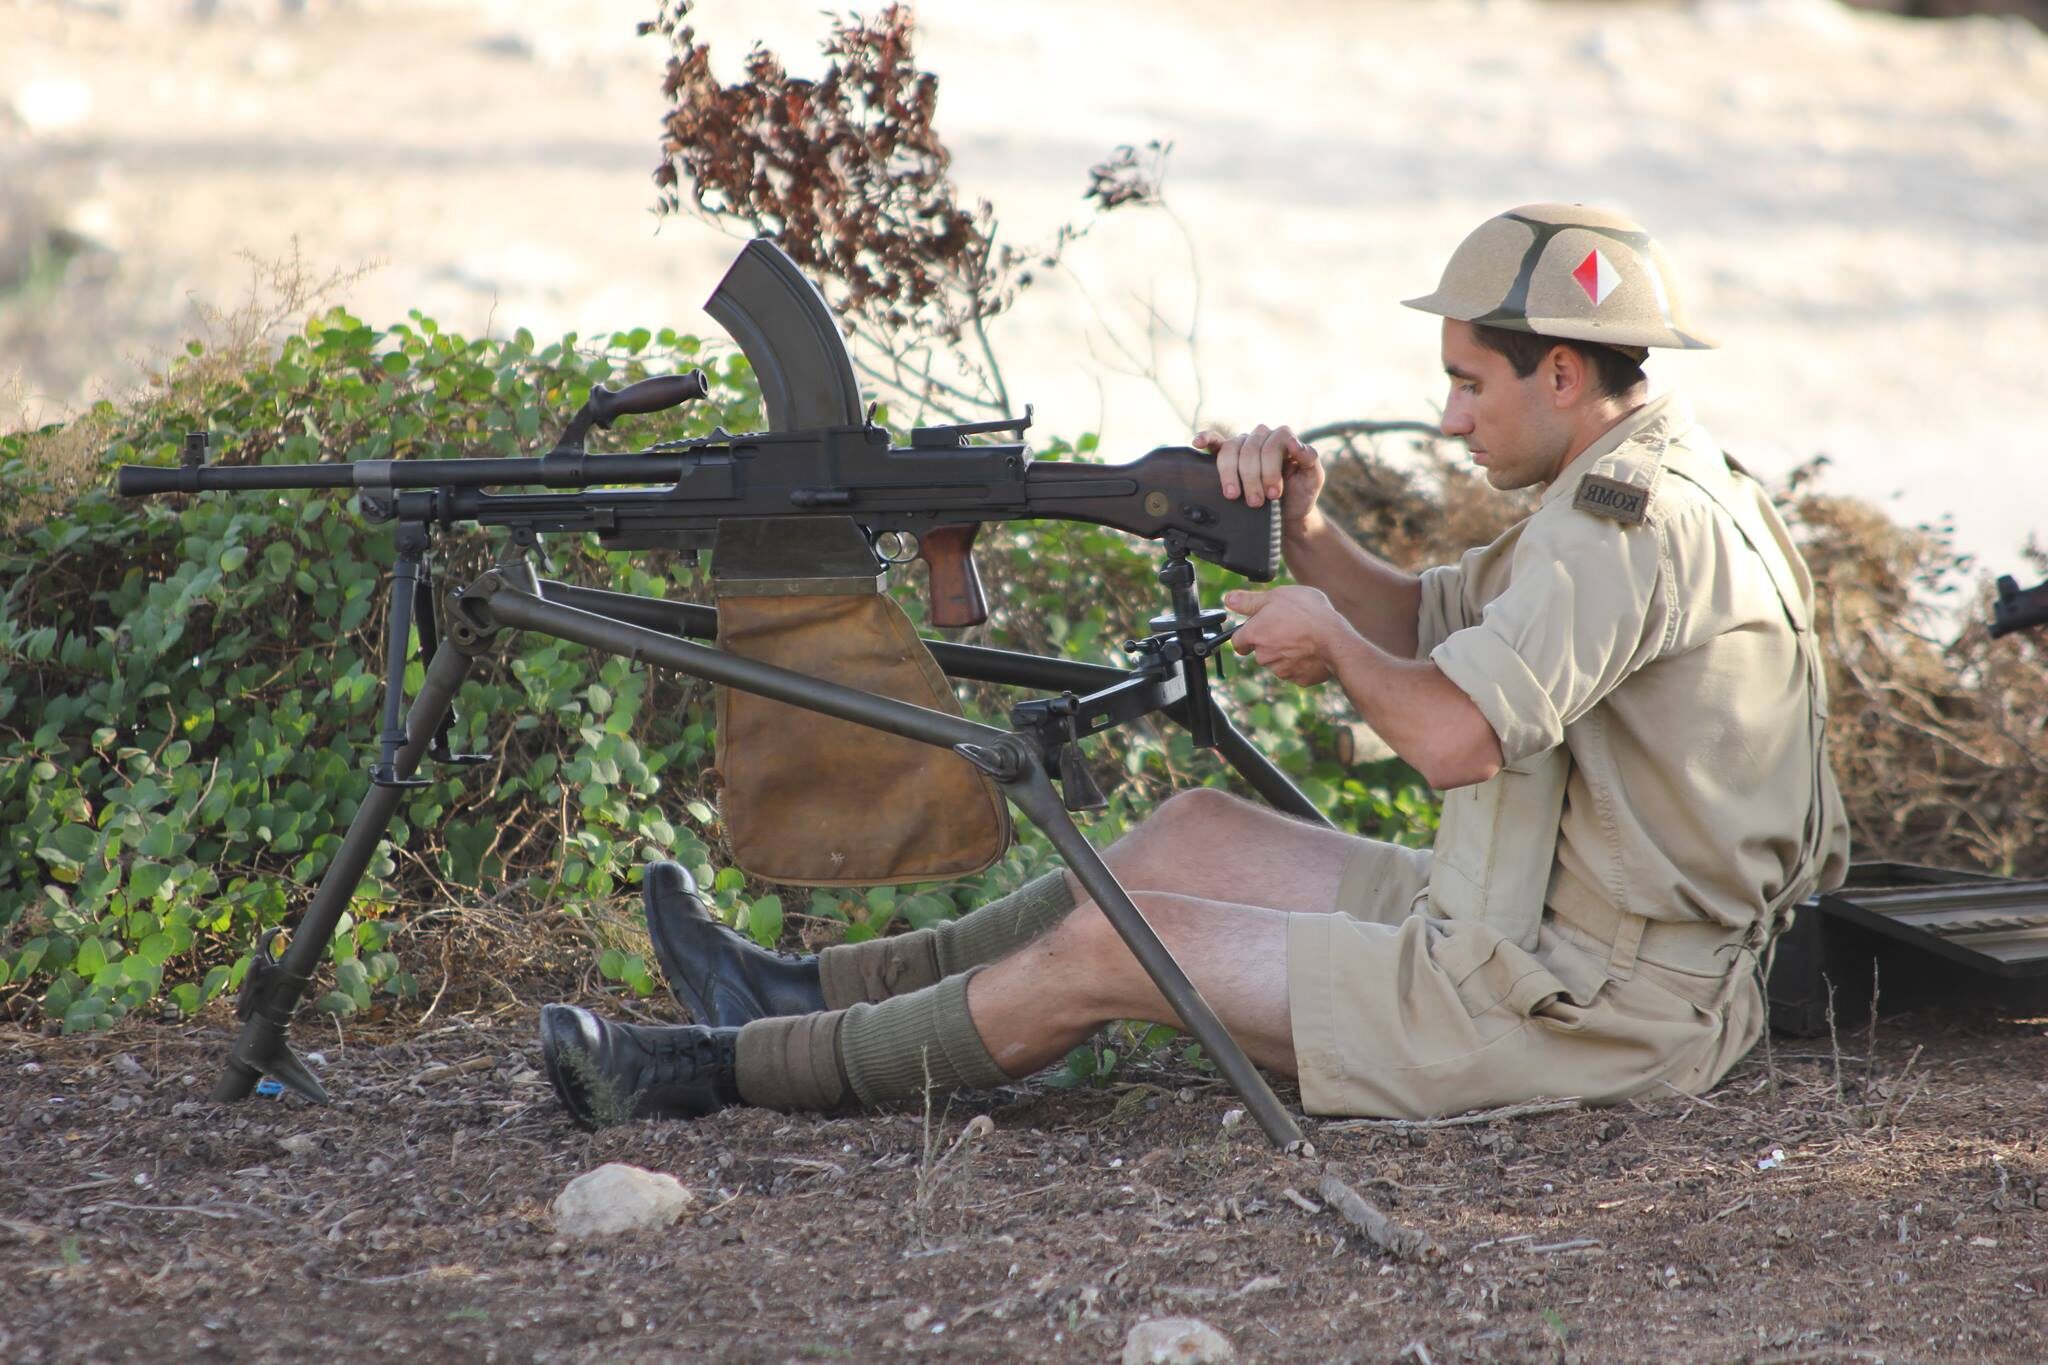
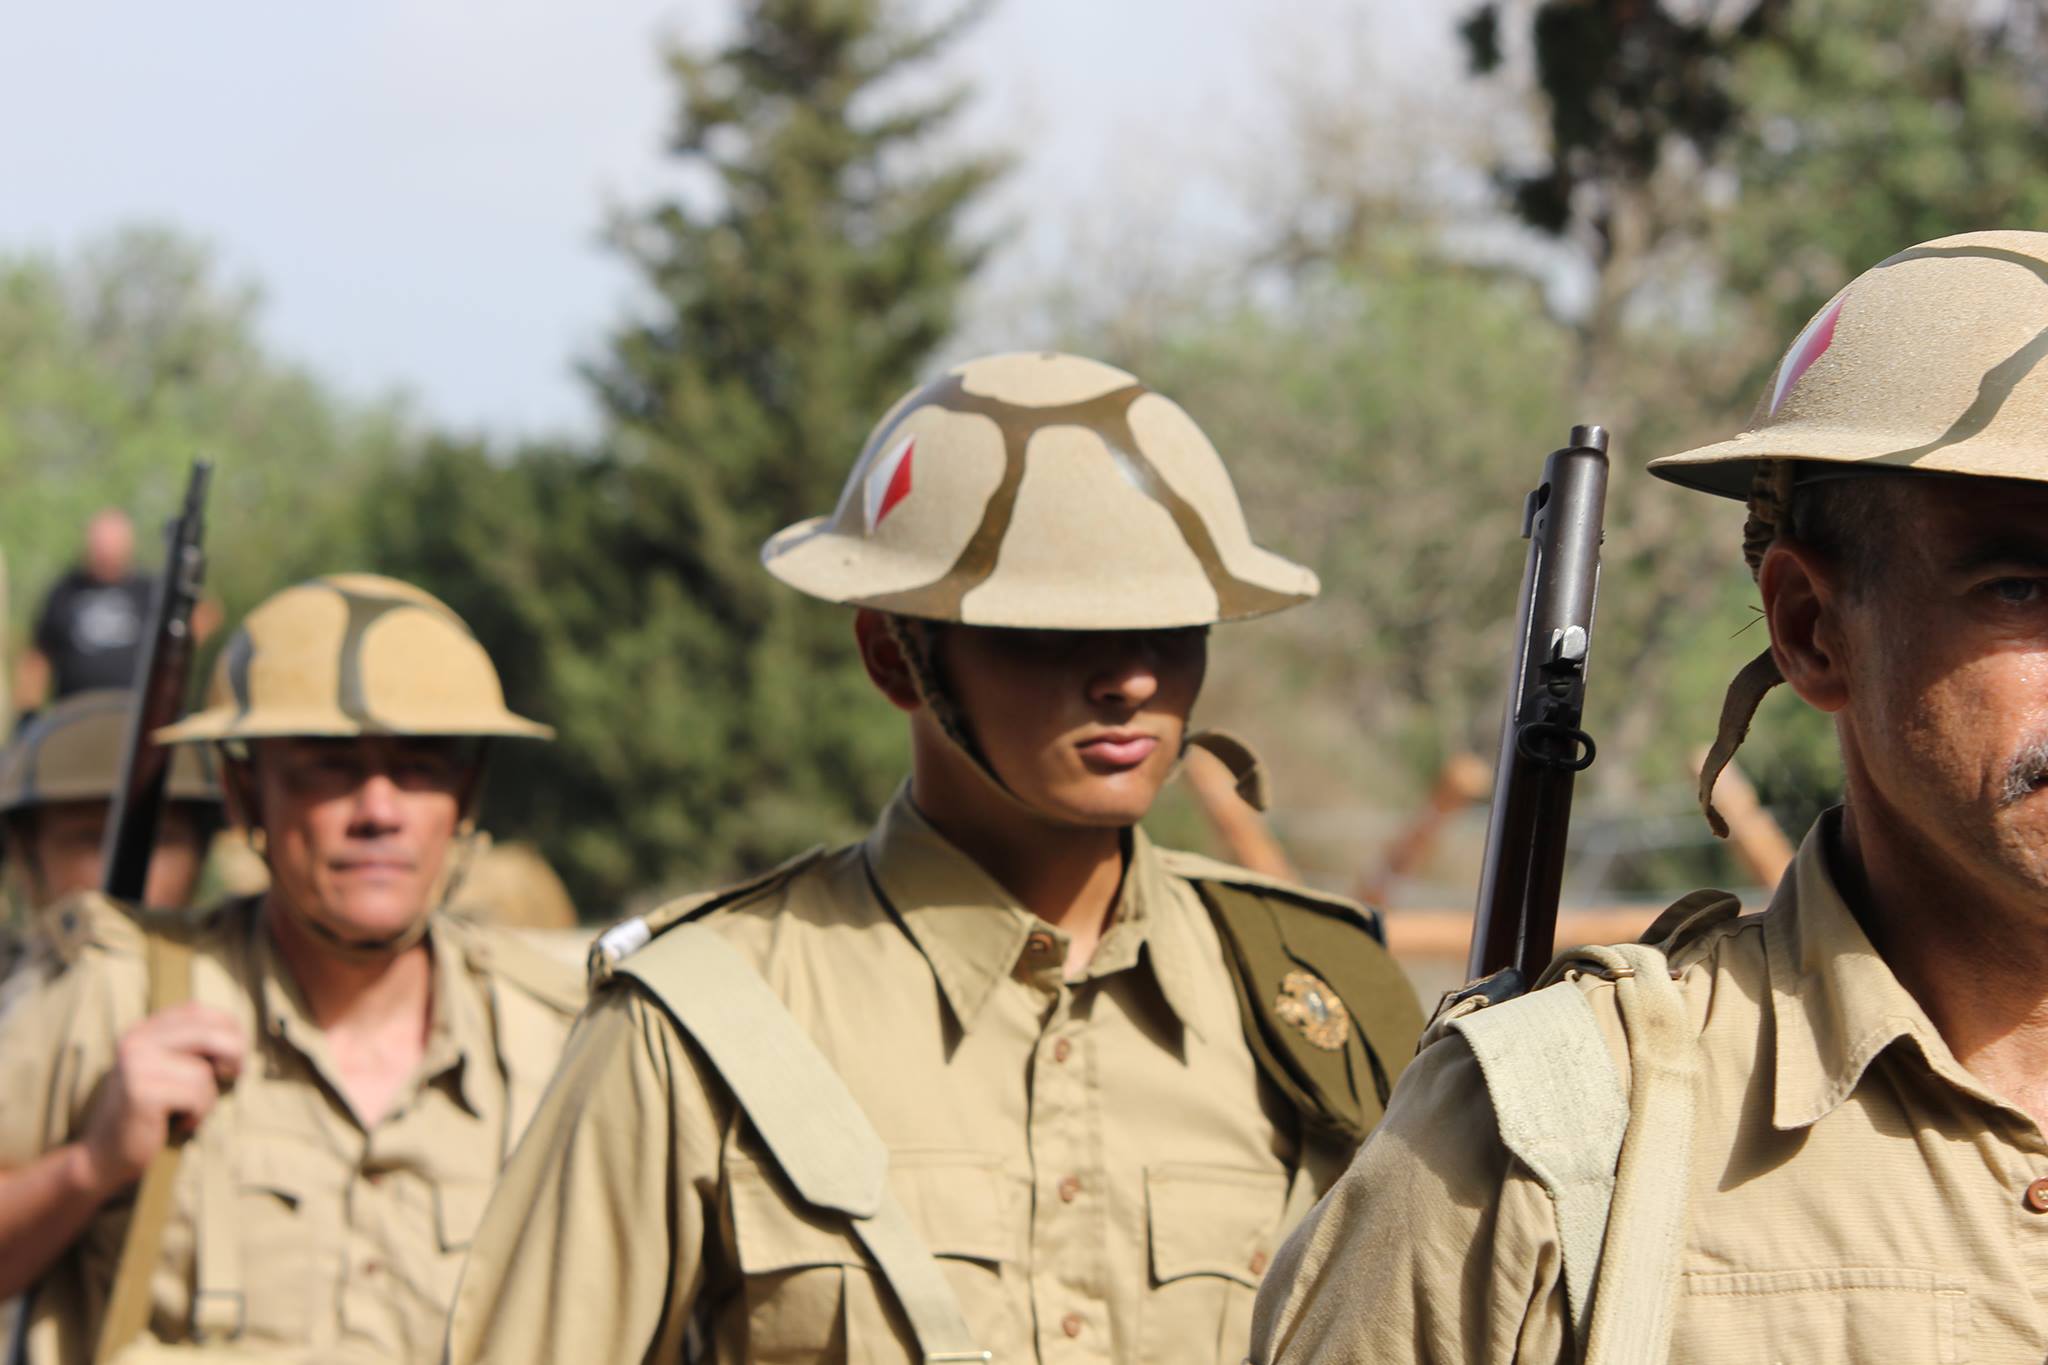
Formation signs were worn on both Battle Dress and greatcoat and sewn on the upper part of the sleeves. In lieu of title flashes, a narrow scarlet flash was also worn at the base of the epaulettes denoting that the wearer belonged to an infantry unit (branch of service stripe). Shoulder flashes were also painted on the right hand side of the steel helmet. However this was discontinued on the helmets being sand blasted, and their being provided with camouflage netting.
The four different formation signs were as follows:
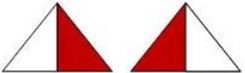
- 1st Battalion. This consisted of a triangular pattern divided vertically. The flash worn on the right sleeve had its left half white and the right red; whilst that worn on the left sleeve had them inverted. These geometrical patterns ensured that in 1st Btn the red section always pointed to the front of the sleeves.
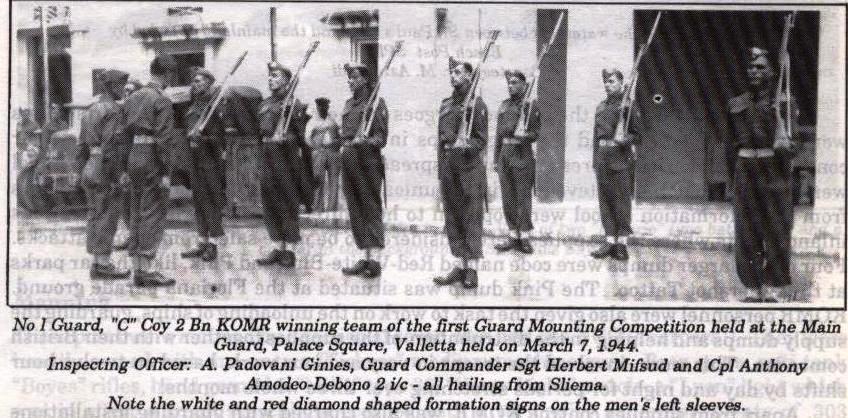
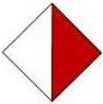
- 2nd Battalion. This consisted of a diamond with the white portion on the left half. Both sleeves were the same.
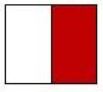
- 3rd Battalion. This was a square with the white on the left half.
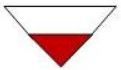
- 10th Battalion. This sign was a downward pointing triangle divided horizontally with the top part in white and the bottom in red.
 |  |  |  |  |
1st Battalion (left and right shoulder) | 2nd Battalion | 3rd Battalion | 3rd Battalion | 10th Battalion |